

We’ve talked a lot recently about keyboard shortcuts and how they can improve your productivity in Microsoft Word, but did you know you can customise these further? So far we’ve covered basic functions, navigating Word’s ribbon, and formatting. In our final instalment on keyboard shortcuts, we’ll look at how you can customise Word’s existing keyboard shortcuts to your preference, and assign shortcuts to functions that don’t have one.
To customise keyboard shortcuts, open Word’s Options dialog and go to the Customize Ribbon pane. Most people do this the long way: open the File menu, select Options, and click on Customize Ribbon. A more direct route is to right-click on the ribbon and select Customize Ribbon.
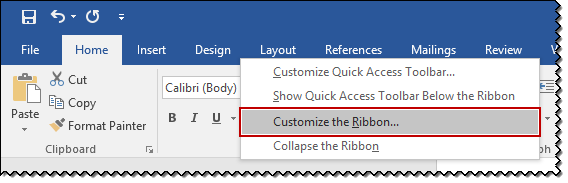
This brings up the Options dialog, conveniently open at the pane we need (by the way, the keyboard shortcut for the Options dialog is Alt+F, T). At the bottom of the Customize Ribbon pane, click on the Customize button next to Keyboard shortcuts to open the Customize Keyboard dialog.
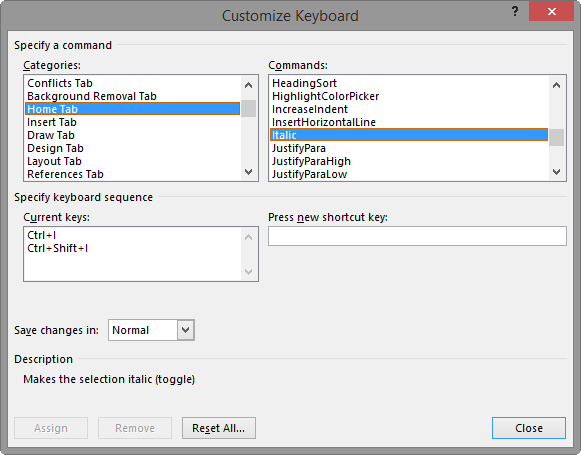
Let’s say you want to customize the keyboard shortcut for the Italic command. The Italic command is on the Home tab so, in the Categories list in the top left corner of the Customize Keyboard dialog, look for Home tab and select it. All commands located on the Home tab will appear in the Commands list on the right. Under Commands, find and select Italic. In the Current keys section, under the Categories list, the existing keyboard shortcuts for Italic are displayed.
Back to the right hand side of the dialog again, there’s a field called Press new shortcut key. This is where you enter the shortcut you want to assign to Italic. Word makes this very easy – all you have to do is place your cursor in the field and type the keyboard shortcut. So if it’s CTRL+U, for example, press the CTRL and U keys on your keyboard. You don’t need to manually type out C-T-R-L-+U.
Due to the sheer number of existing shortcuts, there’s always a chance you’ll try to assign one that’s already in use. If that happens, a message will appear underneath the Current keys box saying “Currently assigned to [command]”. If you go ahead and assign the new shortcut anyway, this will override the existing one.
If you want to delete a shortcut, locate it as above, select it in the Current keys box, and click on the Remove button at the bottom of the dialog.
To save your changes within the current document only, open the drop-down menu next to Save changes in: and select the name of your document. The default option, Normal, saves changes across all documents created under the template currently in use.
Finally, click on the Assign button to create your new custom keyboard shortcut. The dialog will remain open in case you want to customise further shortcuts. To close it, click on the Close button in the bottom right corner.
You must be logged in to post a comment.